Keychain and passwords
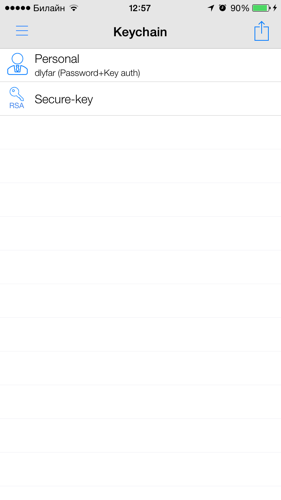
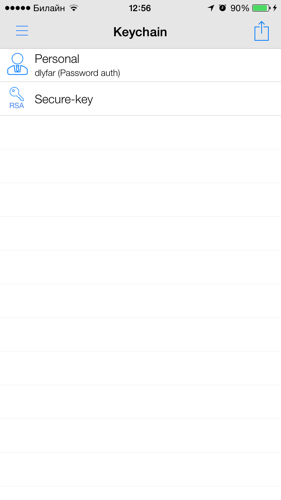
Before starting to work with hosts it would be reasonable to understand how to manage your passwords and private/public keys in Serverauditor. All functionality available for the keys management is encapsulated in a single entity called KeyChain. Keychain operates with Keys and Identities.
Keys are, basically, generated or imported private or public keys.
Identity is a complex entity that encompasses a user name and either a password or keys or both provided by a user. You can assign an identity to a host or a group of hosts.
This section describes how to manage your access options.
Creating Identity with a password and a user name
Password is the most basic and the least secure method of authorization. You can provide a password while creating a host or a quick connection. Here we are going to create an identity with a password that could be tied to a host or a group of hosts later.
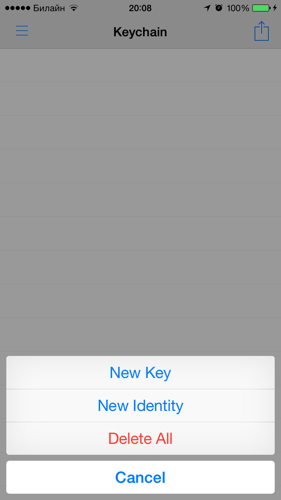
Start in the Keychain menu and select New Identity option.
Fill the user name and a password fields. Tap the Save button in the upper right corner. Note that a new identity will be created with a Password auth tip which means that Serverauditor will attempt to auth your user while connecting with a password only. You can tie this identity to any of your host now.
Creating Identity with a key and a user name
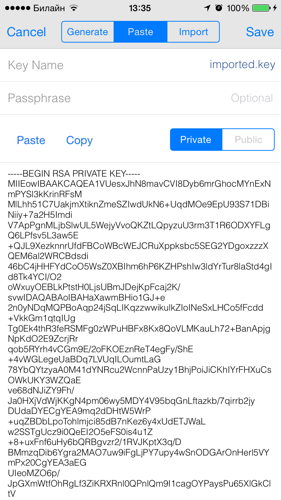
Before we move to creating an identity which would allow to auth at your hosts with a key, let's review the key management options available. If you've already created or imported a key you can skip this section and go to Export Key to Host. Currently, you can import PEM, PPK, KEY, text and txt file formats (PuTTY keys are supported as well). Keys are also can be generated.
Importing keys to iOS devices
To use Key import feature via iTunes, you need your private key to be saved in a file with one of the following extensions: .key .text .txt .ppk.
Now open iTunes and pick your device there. Choose Apps section and scroll to bottom to find File Sharing section. Find Serverauditor in the list of apps and add your key(s) in Serverauditor Documents
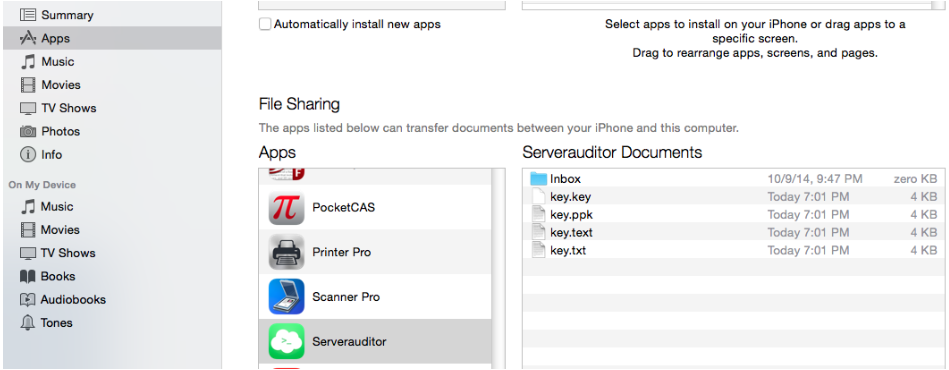
Now let's import the key added into the app. Open Keychain screen and select New Key option. Switch to the tab Import where you can see all the available keys for import. Choose the appropriate key and tap Save button.
Generating keys
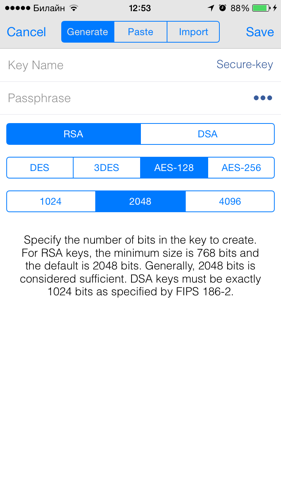
Start in the Keychain menu and select New Key option. The Generate tab will be opened by default.
The data which needs to be provided corresponds to the input of the OpenSSH utility. Passphrase is an optional but highly recommended value! Please refer to the picture below to see the keys' parameters available. We'll generate a 2048-bit RSA key in this example.
Export Key to Host
When you have a pair of keys which has been just generated it will require an additinal step to be able to auth on a certain host. Serverauditor provides key export functionality to say a host that you'd like to authorize with a given pair of keys.
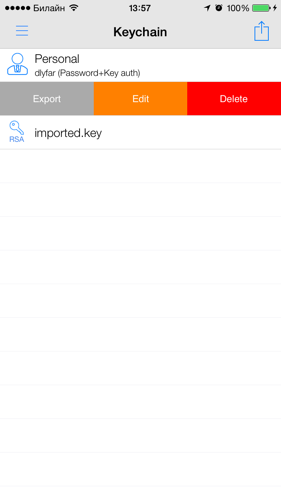
Swipe left over the key that needs to be exported and select export option as shown on the picture below. You will be offered with a list of existing hosts.
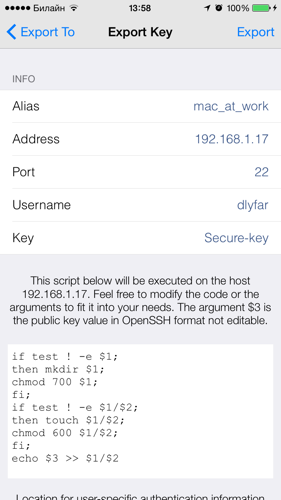
Tap the host you'd like to export the key to. The new screen will be opened. There you can customize the export script. By default it adds a key to .ssh/authorized_keys. Tap the Export button in the upper right corner to export the key.
Link Key to Identity
Now when you have keys exported you can link them to the identities in order to use them to auth to a host or a group of hosts. Linking a key to an identity can be perfromed from Keychain screen.
To do so just choose the identity which you like to edit and then, by tapping a Key icon just navigate to the key which you'd like to be linked with this identity. Then tap the Save button.
Note that in our example the identity already had a password and a user name. After the key is linked the tip of this identity changed to Password + Key auth which means that Serverauditor will attempt to authorize with the safest option first (i.e. with a key) and if this attemp fails then the password authorization will be tested.

